If you’re working with a bonnet that has never been wrecked, and you are re-using all of the original pieces, assembly can be very straight-forward. Since that’s almost never true, get ready for an adventure!
Throughout this process, we typically completely assemble the bonnet an average of three times to get everything sorted out. If you’re doing this work yourself at home, better just resign yourself to multiple attempts – and up it to 5 or 6… You want to be ABSOLUTELY SURE everything is right where it should be BEFORE you bond the flanges! Finally, you can’t over-prepare and over-check things – preparation is the key in this procedure!
Follow along as we assemble a bonnet that has been wrecked heavily in the past and re-shaped in our shop.
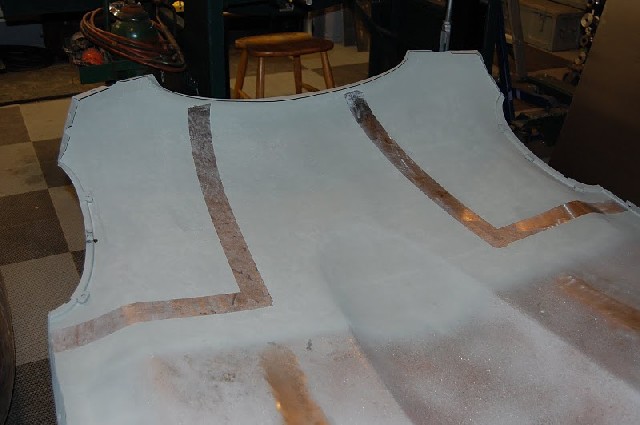
First order of business is to liberally coat the sections that will be enclosed once it is assembled with a quality primer - this may be the only paint some of the nooks and crannies ever see, so get it on there now while you can! Tape off the areas where you believe the flanges will be bonded to the outer skin so that the bonding agent is going directly onto bare steel.
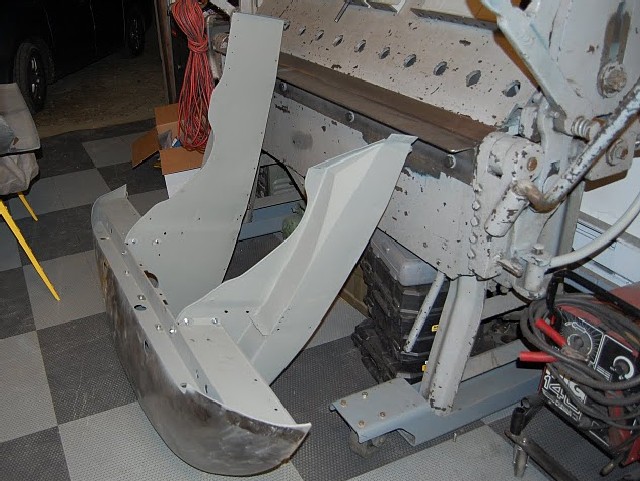
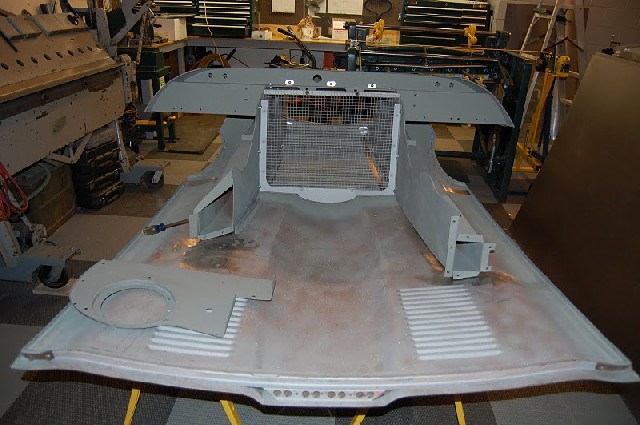
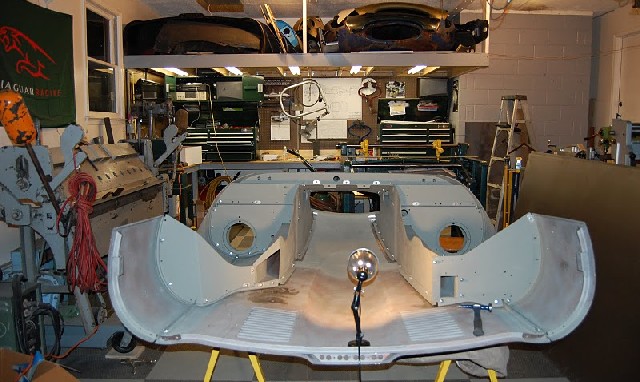
Next, we loosely bolt the inner valances to the lower valance (underpanel), using the mouth tray as a guide to keep them seperated at the proper width.
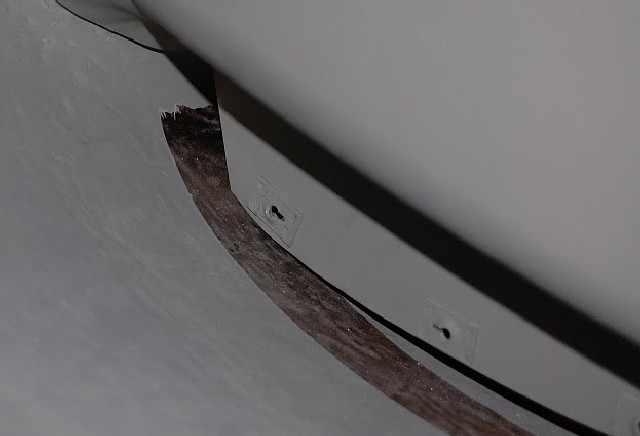
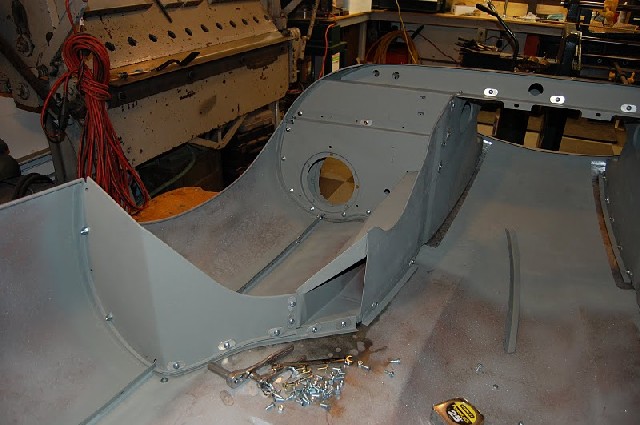
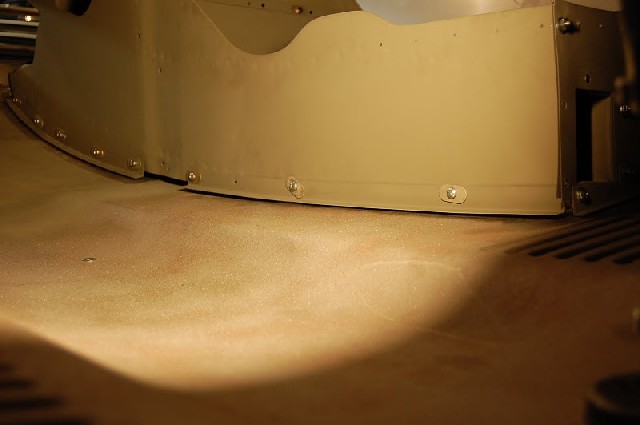
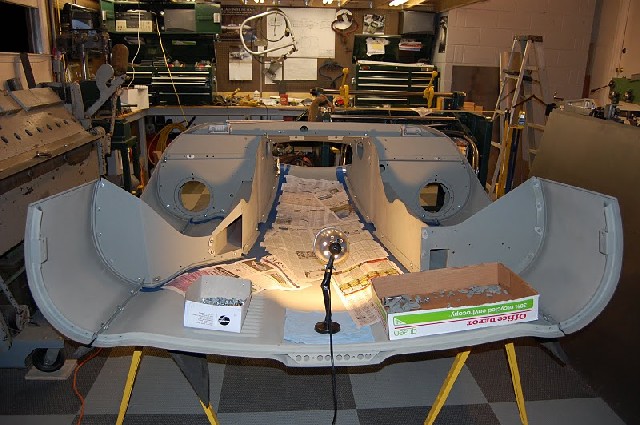
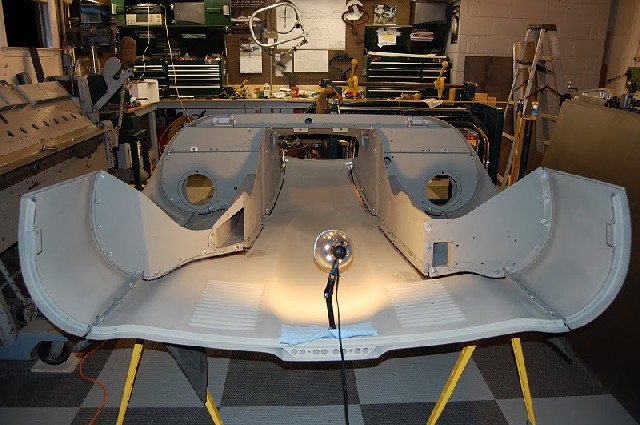
Lay that assembly onto the center section, and start looking at how the inner valance edges are going to mate to the outer skin. This is the area you want to be most concerned with. The photo is misleading because gravity is pulling this down right now - you can just reach in with your hand and pull this up so there is no contact. But... will this problem come back when everything is all bolted up?
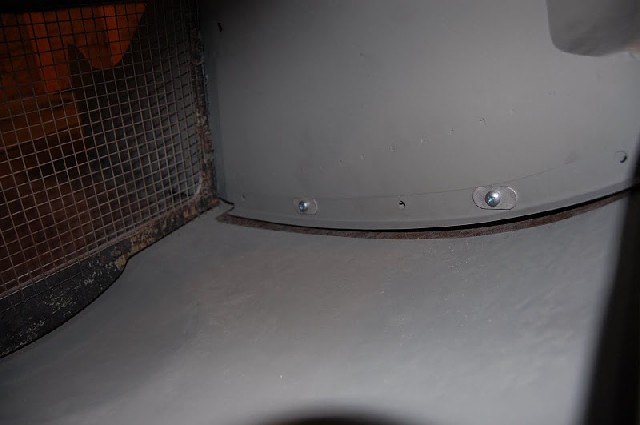
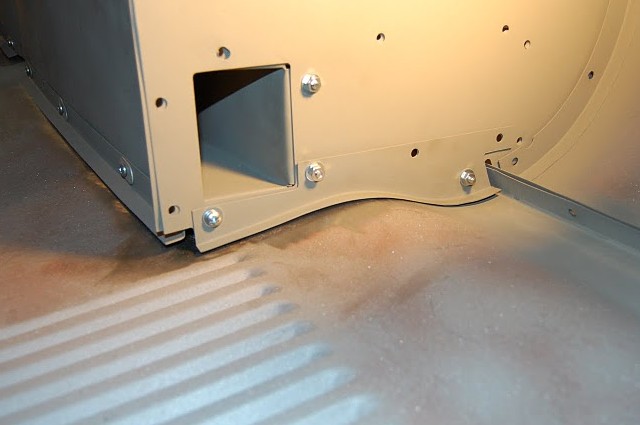
Next we attach the flanges and see how things are going to ride on the outer skin. The flanges should be about 3/16" away from the outer skin along their length, but some variance is OK and was actually typical from the factory.
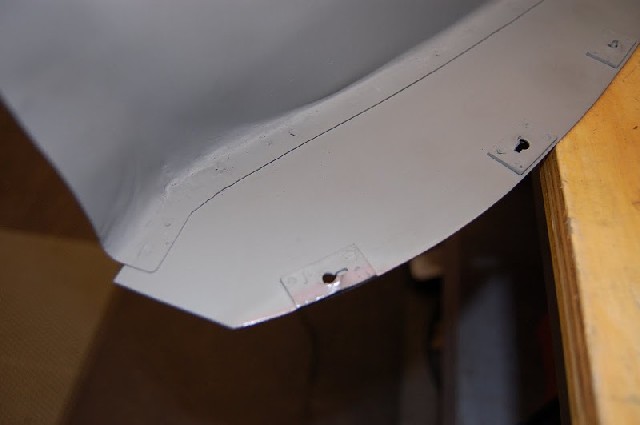
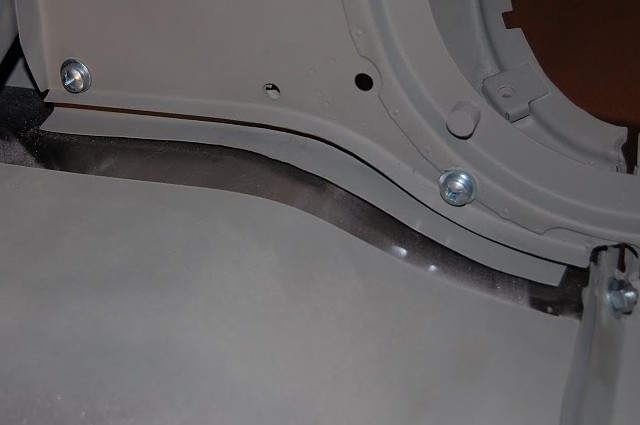
During the initial assembly process described above, we can already see that there are going to be problems in this area - which is where all of the major damage and reshaping was. To play it safe, we've kissed this edge down in about the first 3 inches - this will not be seen when assembled, and you DO NOT want this to come into contact with the outer skin AT ALL!
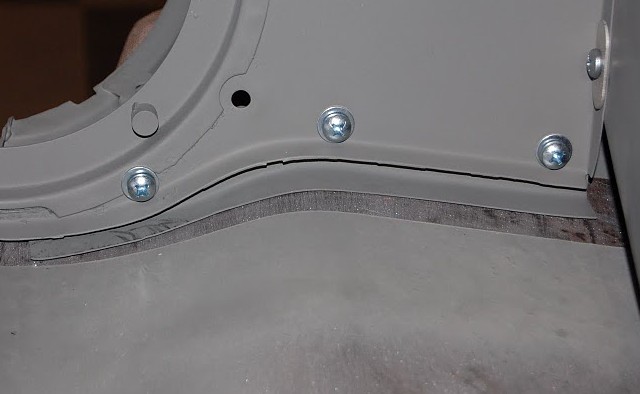
We bolt up every single flange and make sure we're going to be able to make it fit when the whole unit is assembled.
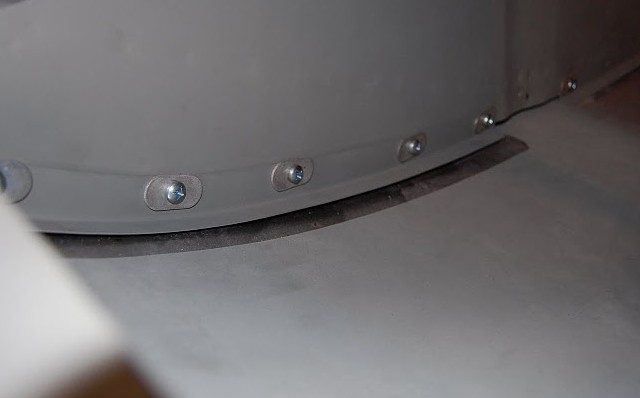
And more - you have to do ALL of them before moving forward. We can make these flanges here new (available in our store), so we have the machinery to re-arch these so that they follow the outer skin perfectly - just another way having an E-Type panel fabrication shop on site makes a big difference in the finished product!
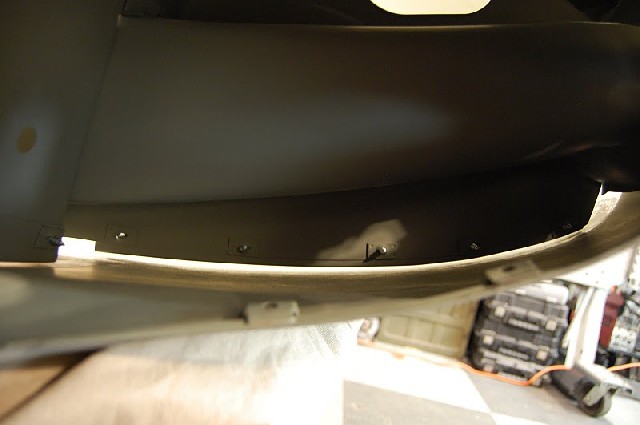
THIS is what matters - that there is the proper clearance on this valance and flange from end to end.
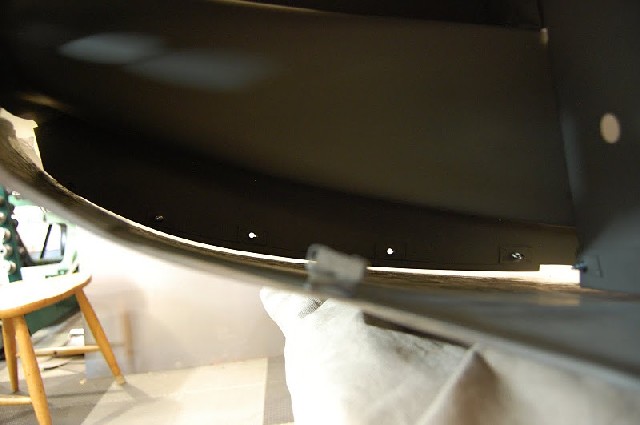
Other side looks good to - although that leading edge where the accident damage was is still a little tight...
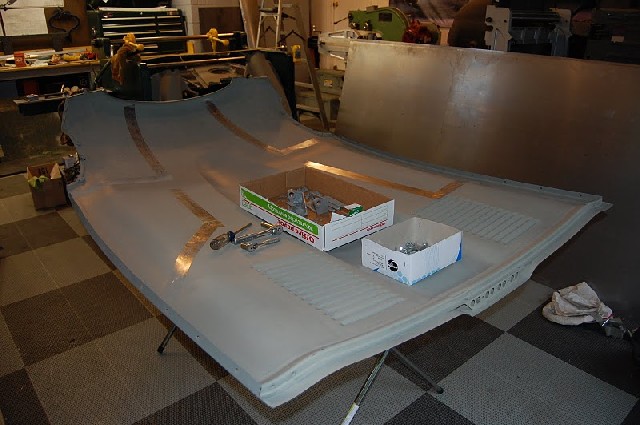
So now we do it for real... We've gone ahead and etch-primed the entire underside of the center section now, and glass-beaded and primed some original hardware so that when assembled, all of the bolt heads will have the proper original markings, etc.
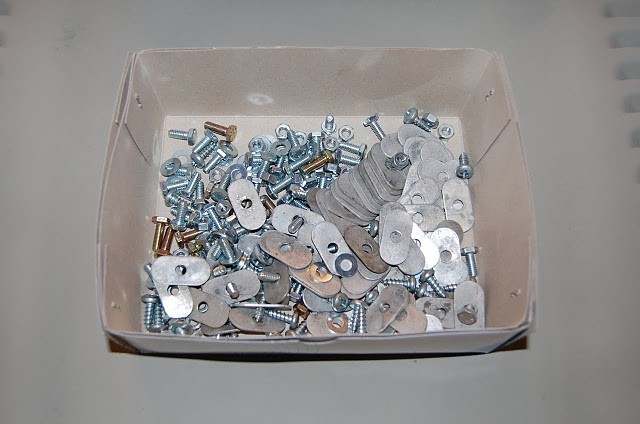
A combination of new hardware and original oval washers that have been cad-plated for protection - everything on the bonnet gets painted in the end...
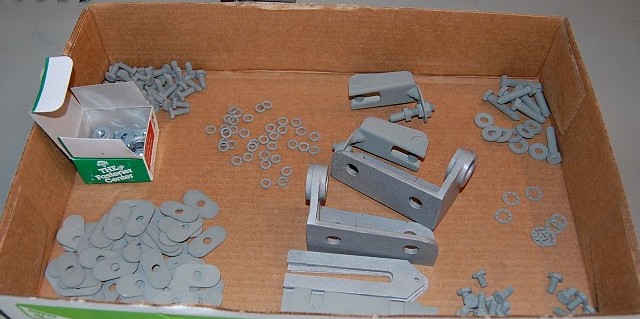
Original hardware that has been glass-beaded and etch-primed. Note the box of special THICK washers for the flanges between the center section and wings.
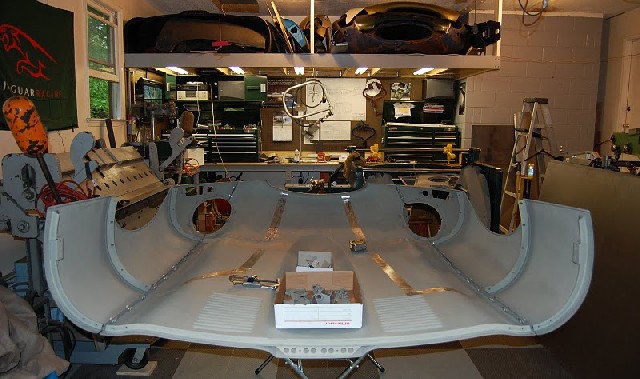
Based on the way things went together in the test assembly, we've decided to start out this time by bolting the wings to the center section.
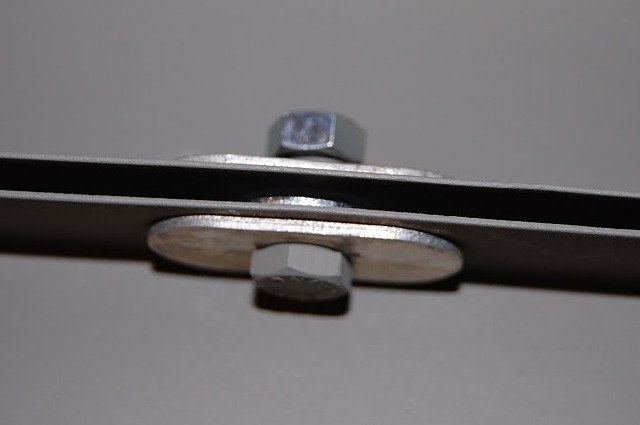
Original bolt and special spring washer - etch primed, original oval washers - cad-plated, proper thickness spacer washer, and a new nut - 100% perfect originality.
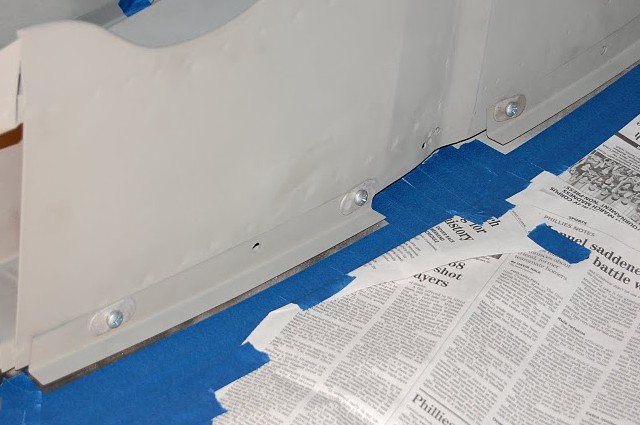
I shouldn't give away all of our secrets, but taping the skin is a must - the bonding process is MESSY!
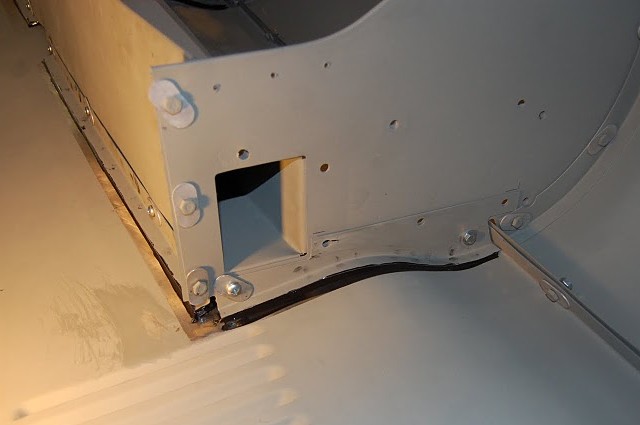
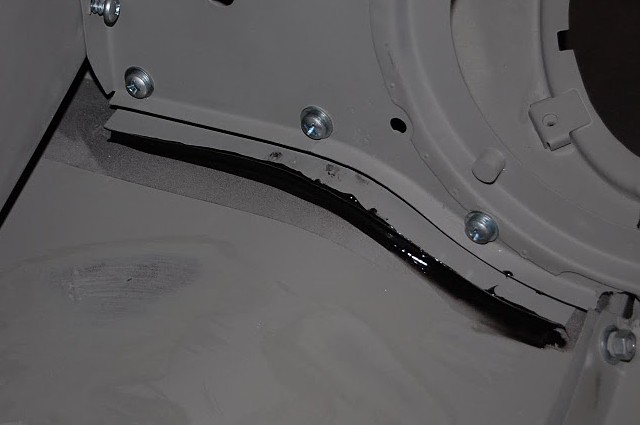
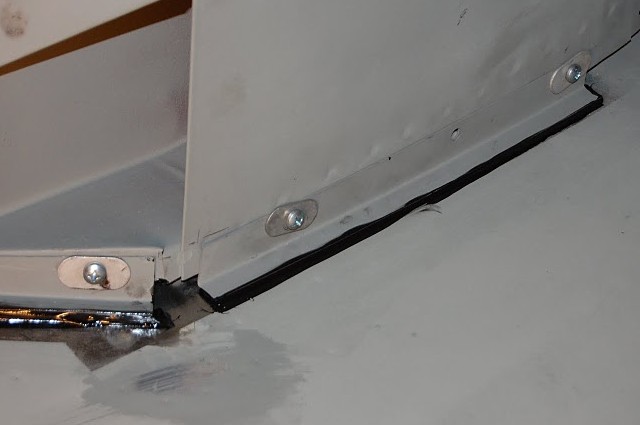
Strong, neat, and the proper black color - although it doesn't really matter since it all gets painted.
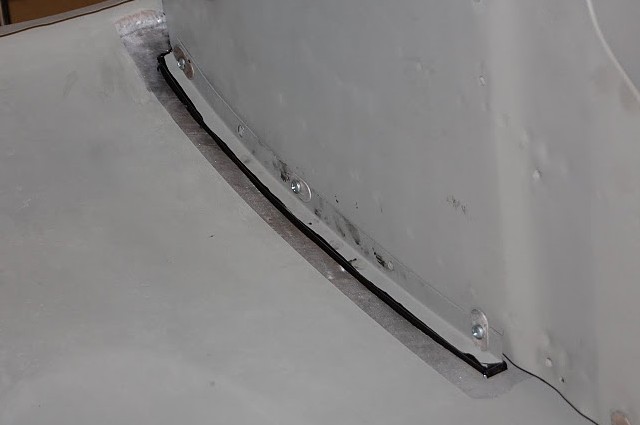
The fingerprints give you an idea of what a mess it is in progress... These will get scuffed off before paint.
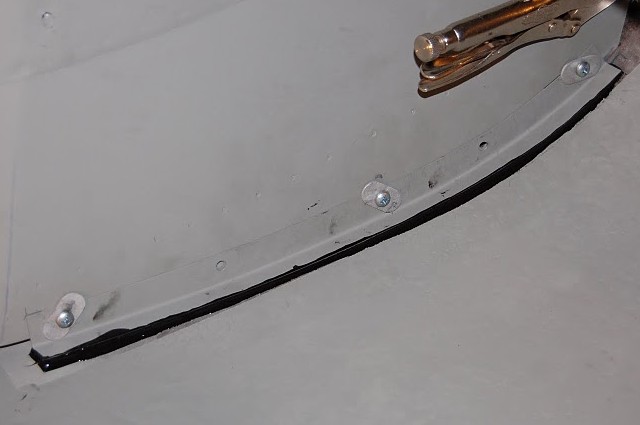
Here is the side with the accident damage - a MAJOR improvement over how this bonnet came in - this flange was bonded to thin air - and the outer skin of the ceneter section was over an inch away!

