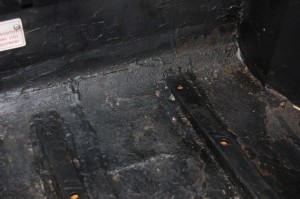
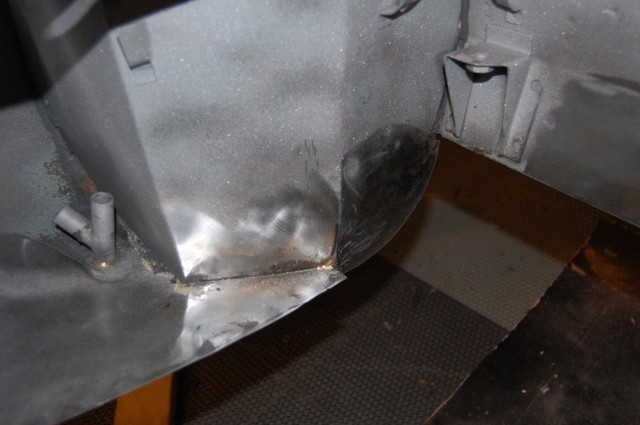
The boot (or trunk) floor is usually one of the first areas to go on an E-Type, so it’s no surprise that even though this car is one of the most solid shells I have seen in decades, the boot floor had been “repaired” in the past…
I’m sure there are some out there that think you don’t need to get very fancy on the boot floor, since you can’t see it from the inside, and need to really get down on the ground to see it on the outside, but I’m just of the opinion that every portion of the car should be done correctly. And with the right tools and experience, it has to be easier – and faster – to do it the right way. Whereas the butchery performed on this car MUST have taken ALOT of time!
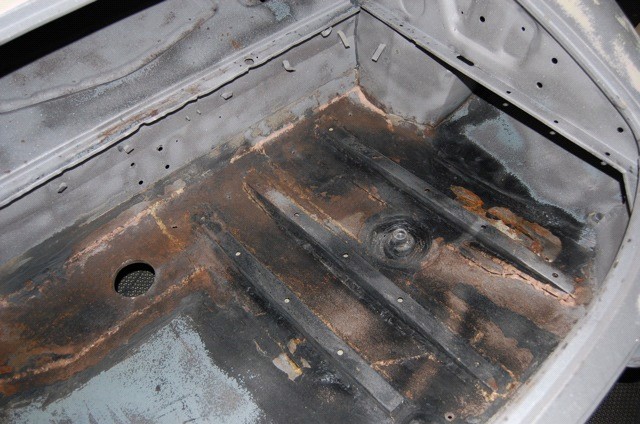
AAAGGGGHHHH!!! Here's what came back from the sandblaster - we told them not to even bother doing this. They did blast enough of the undercoating off to reveal what is going on here. A previous "bodger" has brazed in very thick plates all over the place!
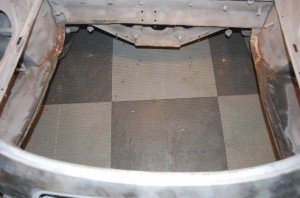
Step 1 is to just get that mess out of there with a rough cut around the edges so we can get in there and work.
At some point in the past, someone has patched this boot floor with very heavy metal patches, attached with MASSIVE amounts of braze… Common practice on this repair is to slice the panel out with a slicing wheel, and then carefully remove the remaining flanges. On this one, the removal of the flanges and residual brazing was a BIG job – if we wanted to salvage the inner wheel wells and lower rear valance panels. At one point, I was surgically removing braze from the inner wheel well with the edge of a .040 slicing wheel!
Once the flanges and excess braze were finally out, we elected to use another manufacturer’s boot floor, since they are actually pretty well made. Unfortunately, it did not fit this car very well, and I eventually took the plunge and cut off the forward edge flange and re-formed a new one 1/2″ lower, which made the floor fit perfectly. THIS is what makes our shop stand out from the rest – with the heavy-duty fabrication tools we have available, we can solve these problems with new, crisp cuts and dead-straight bends. Your average body shop would just force this piece in and you would end up with a poor panel fit – or maybe they would form a new flange – with a hammer and a piece of angle iron…
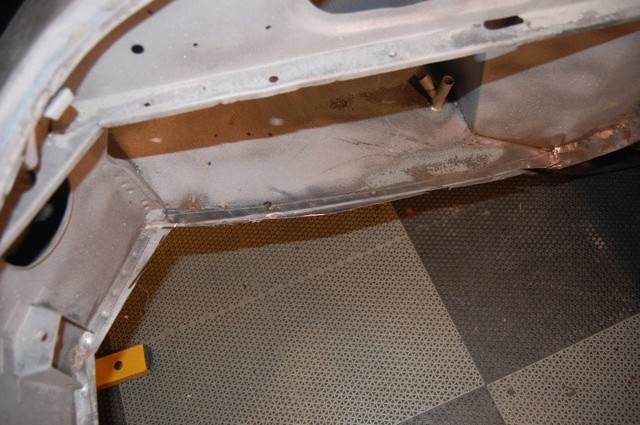
At this point, I stuck a small stool right in there and got to work removing the old flanges to reveal a perfect original mating surface on the panels that are staying in place.
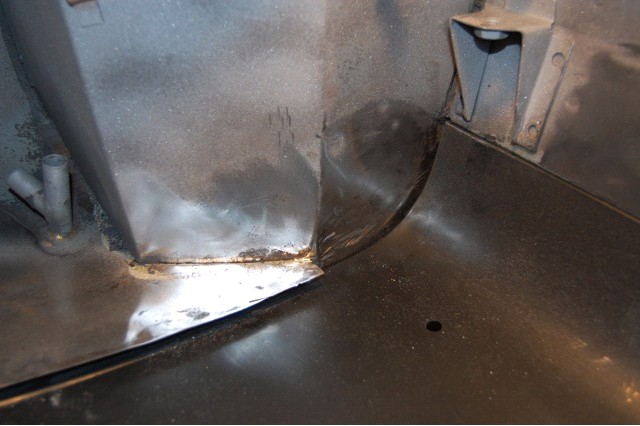
We elected to use a pre-made boot floor from another manufacturer on this project. These are usually well-made, unlike some of the other panels from this supplier, but this one did not fit this shell... When the forward flange was in place, and the rear edge was lined up perfectly with the bottom of the license plate panel. the whole panel hung below the lower valances over 1/2" on both sides.
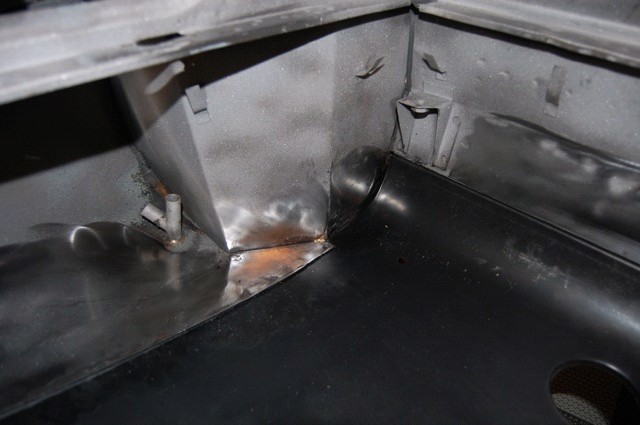
This is where our shop stands out above the rest - we have a full fabrication shop onsite. The solution here was to trim the forward flange from the panel, and form a new flange 1/2" lower. You can see a tooling line just below the new flange in this photo - and note that the new panel now lines up perfectly with the side valance.
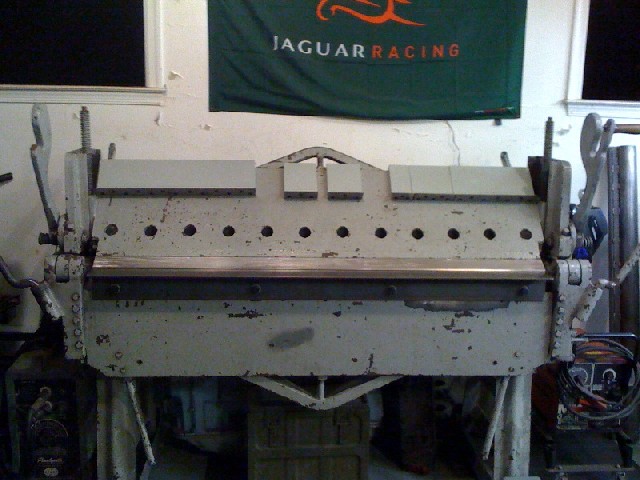
This modification to the boot floor sounds simple enough, but your either do or don't have a brake wide enough, and STRONG enough, to make a bend this long in a piece of 20-gauge. We do - our brake is a "Chicago Universal Brake" built in 1944 on special order for the Philadelphia Naval Shipyard. It's seen its share of use and abuse in the past, but is now re-tooled with all new edges, and makes crisp, perfect bends every time. And - it can bend a piece of 14-gauge over 5 feet wide!
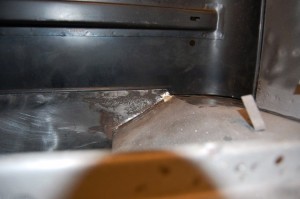
Finally, we trimmed the edges of the lower valances on each side to match the flange on the boot floor - which is being fitted from underneath, but will ultimately be installed with this flange ABOVE the valance. The remaining surface rust on the original panels will get hit when this car goes back to the blasters for a final touch up before moving on to the paint shop.
After preparing and trimming the rear lower valance edges and back edge of the boot floor, we welded the new panel in by plug-welding. As in the earlier footwell repair, plug-welding is the best option here. These original flanges were clean enough to spot-weld, but with the car fully assembled, you cannot reach these flanges with ANY tongs, really. You would need tongs about 3 feet around, and once you go past 18-inches on tong length, you add so much resistance that the machine does not work properly – so they don’t even make tongs that large…
The finished boot floor is almost entirely indistinguishable from the original factory piece, and straight and sound. The owner can take comfort in this solid repair, and no longer wonder if the next bump will be the one that jars the 1/2″ thick slabs of filler loose from the underside of the car. And the long, painted tail of this E-Type will look fantastic on the judging field!
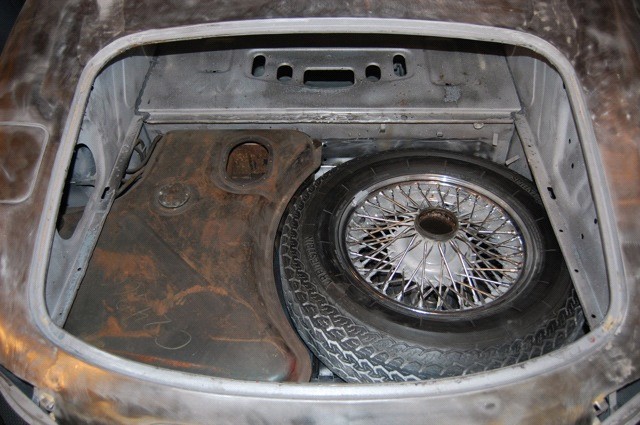
You can't modify panels and then just expect everything to fit - it all has to be checked and double-checked as you go. Here, we are making sure that the fuel tank has ample room before we weld in the floor. I put the tire in just for fun... (and yes, I know it's upside down...) Your average "body shop" unfamiliar with E-Types might not think of this, and if they did, probably don't have a fuel tank handy to try it...
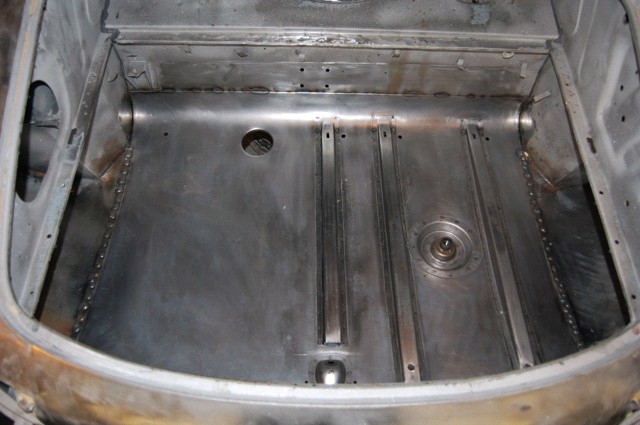
Finally - it's in! We've plug-welded the floor in since you can't get spot-welder tongs large enough to reach around into here. All that's left to do is dress down the weld plugs with the sander. These plugs are all from the topside, or inside, and will not show on the completed car.
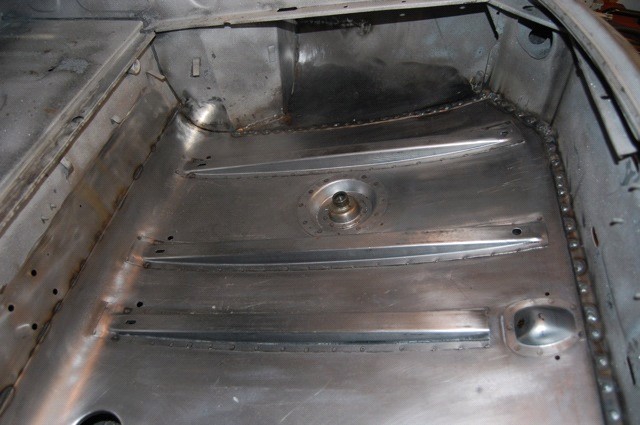
Here's another shot, showing the RH side and the seam along the rear. This rear edge is positioned EXACTLY where the original was.
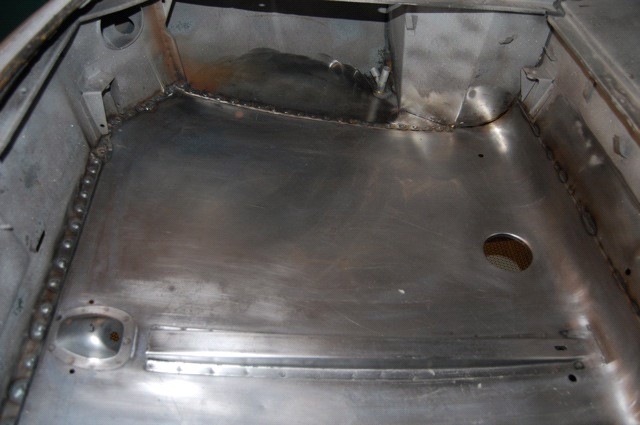
Here's the LH side. Note that the low-quality "shipping primer" has been stripped from the boot floor - it's not a product you want to build up from on a high-quality paint job - which is proven by how easily it comes off...
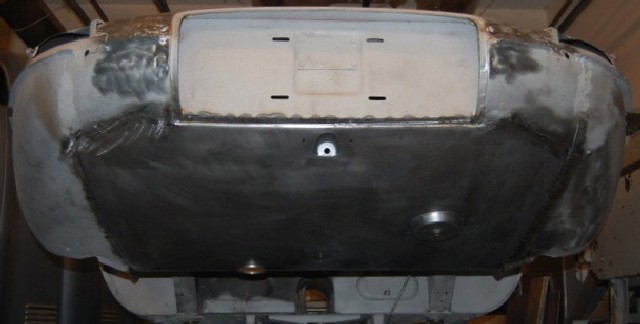
Here's the side that really matters! It's easy to foget that when you're replacing this panel without putting the shell in the rotisserie. A minimal amount of filler will be required on the angled, butt-welded seams that run out from the bottom corners of the license panel, and should then fill about half of the side, flanges seams. The very forward half of the side seams ahould have no filler, and be painted as a raw seam - that is how they came out of Coventry - they only leaded as much of the seam as you could see without laying down on the ground.

