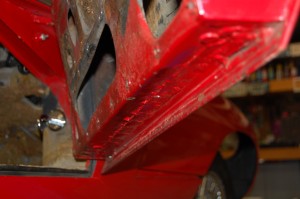
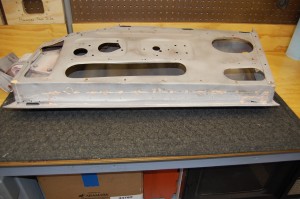
When I went to first look at this car, it was on a lift, and I picked up on this problem right away… A previous owner or shop had re-skinned the door, and they actually did a pretty good job. However, they pop-riveted a poorly made patch on the bottom section of the door where they usually rust out.
This car is destined to be a very high-level, show restoration, and this type of repair is not going to be acceptable. Plus, the rest of this shell is so solid, that it deserves a quality door repair. Finally, as you’ll see from the photos below, there was already a substantial amount of rust starting to form, and soon the new skin would have suffered the same fate as the original – rusting from the inside out, along the bottom edge.
We cut the bottom out of this door shell VERY carefully, and were able to salvage the door skin while making the repair. The repaired door now has a much better seam, that is up behind the interior door panel anyway, and the bottom portion of the door that shows is now factory fresh!
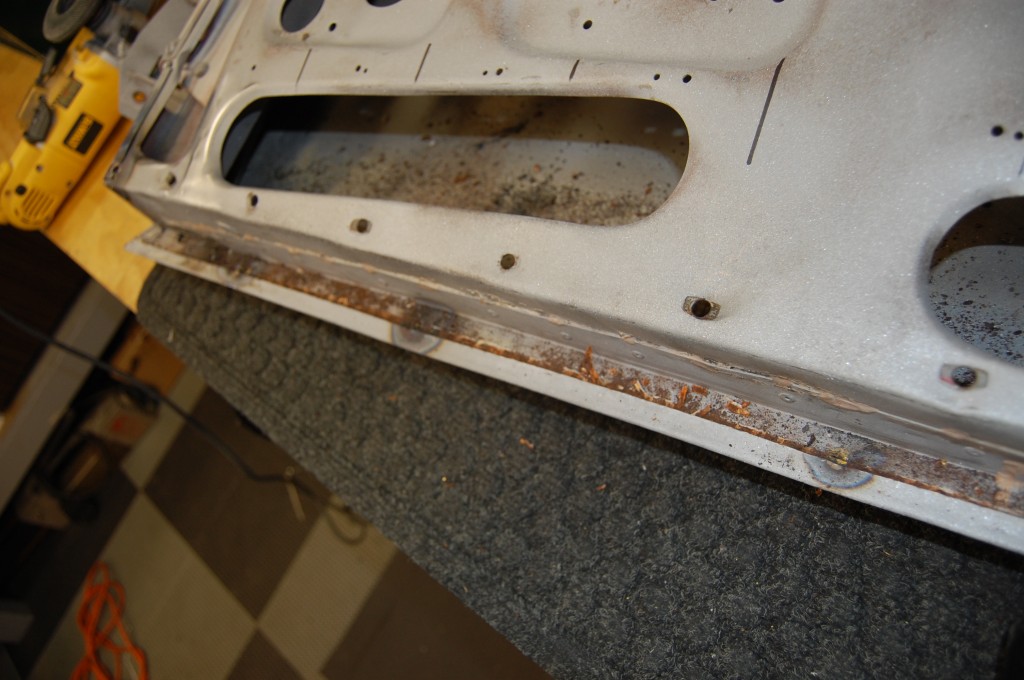
We marked the lower door panel clip holes high on the door, so we could put them back later, and then used a special pair of pliers to gently pry up the lower door skin edge after we removed a few tacks of braze. You can see the rust starting to come out...
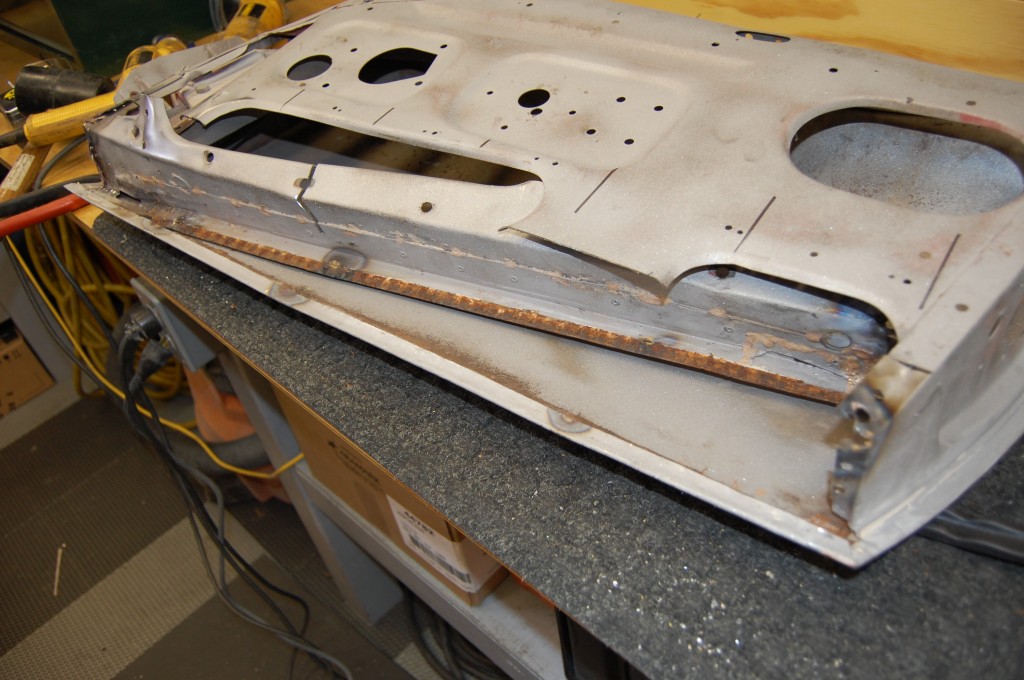
Now, we've made our cut and started to remove this piece - a VERY time consuming task if you want to salvage the rest of the door - especially the shut-face panel - which will show entirely. Note the rust on the bottom edge of the fabricated piece, AND all inside the bottom of the door skin - not good.
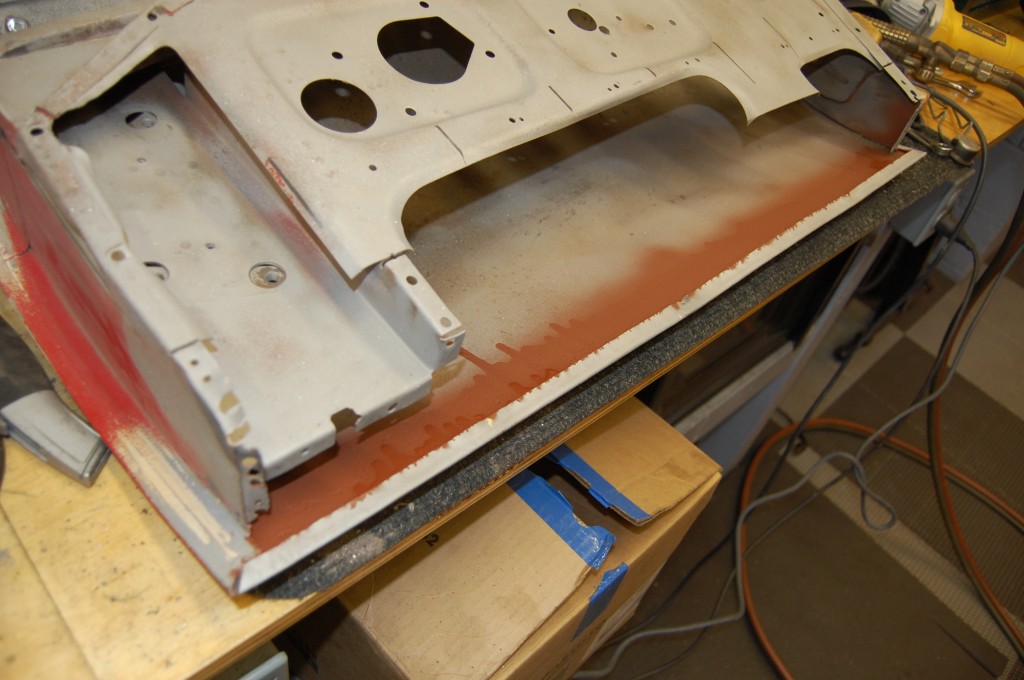
Here, we've cleaned up the rusty edges and the inner bottom edge of the skin down to bare, white steel in the sandblast cabinet, and then liberally coated the inside of the entire lower skin flange with red oxide. We got to this door just in time - the skin was salvaged, but the interior pitting was pretty heavy. The red oxide will stop the rust dead in its racks.
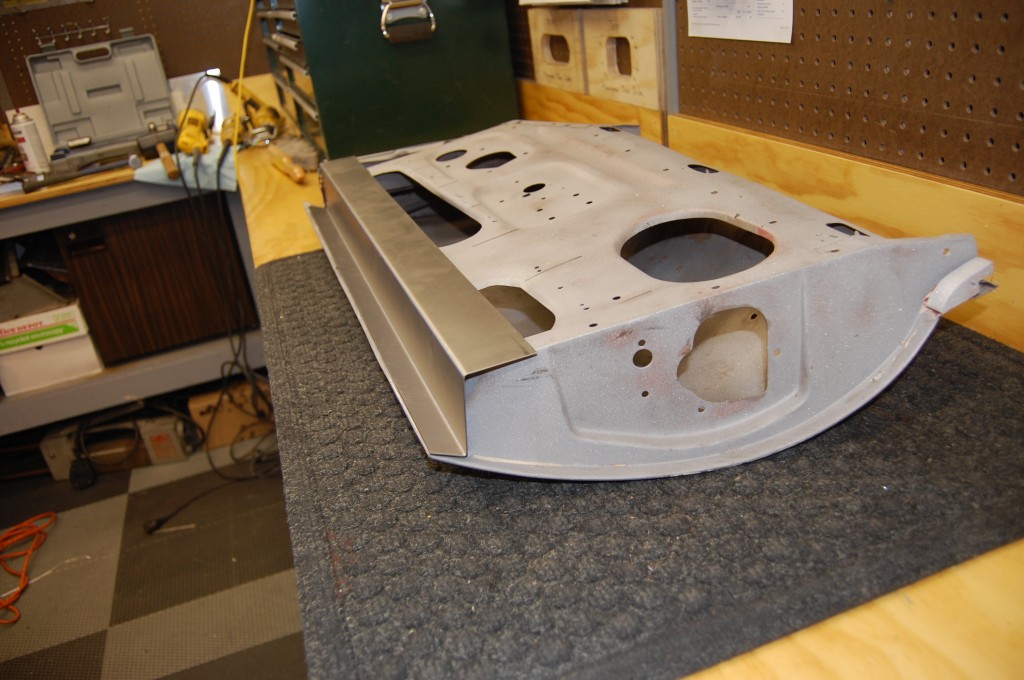
Next, it's over to the shear and brake to form up a new patch piece after carefully measuring this and several other doors - just to be sure...
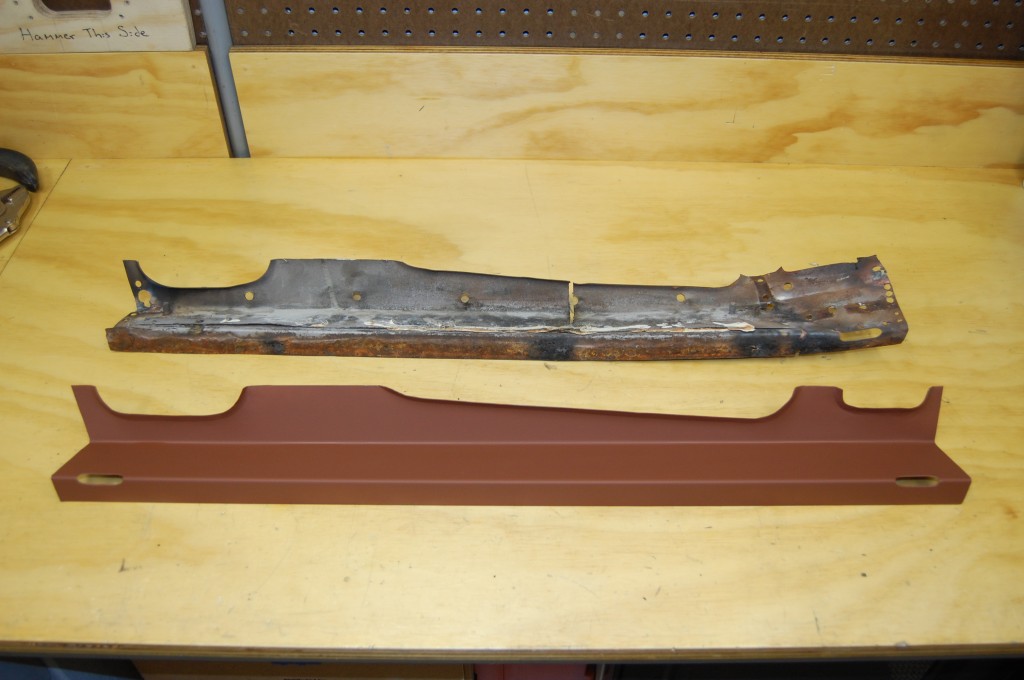
Here's the completed patch shown below the old patch - I'd say that's a little better! It has been coated on the inside with red oxide, and the cut-outs are now complete with turned edges. Also note the drain holes cut into the bottom bend.
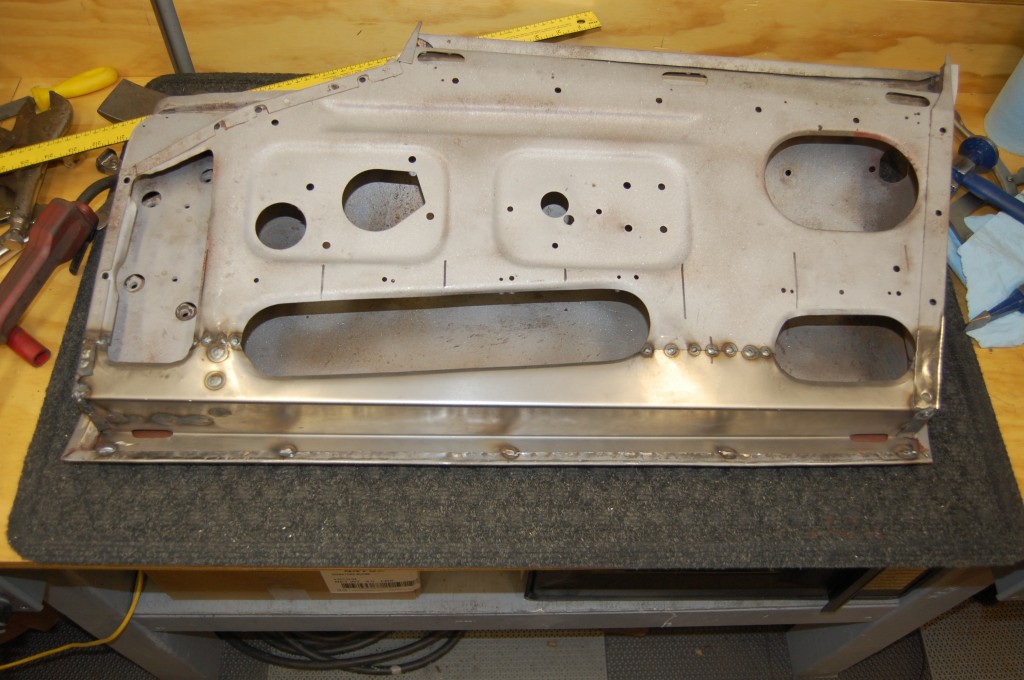
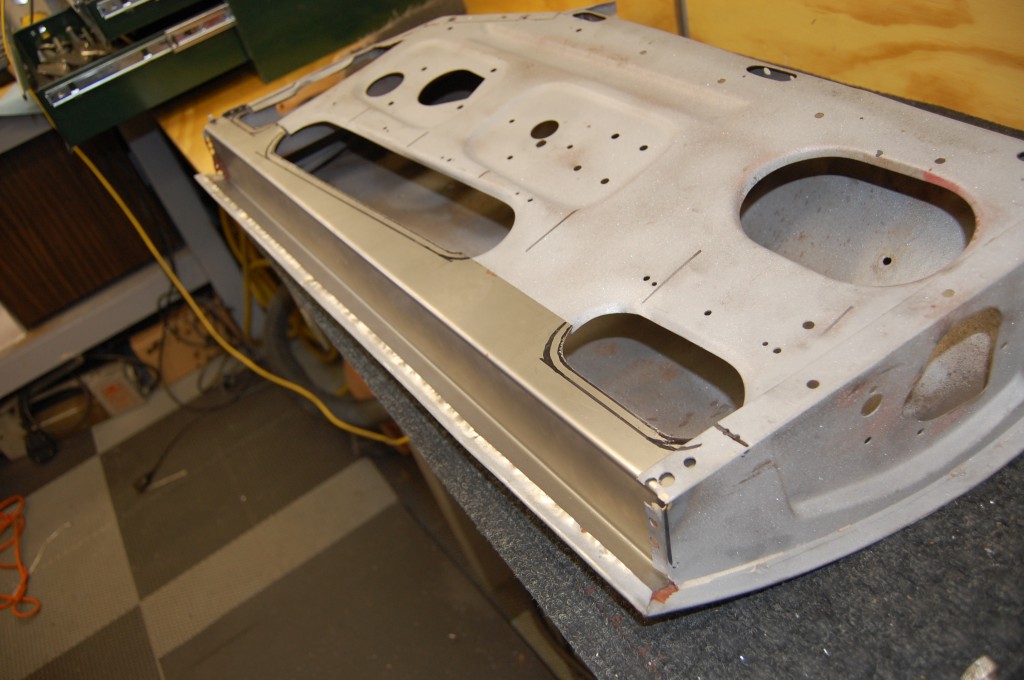
Now we're getting somewhere! The patch is now tacked in - actually, everything is complete except the finish welding of the two long seams across the large holes. Note the plug welds in the bottom of the door that pick up the internal flanges on the bottom of the hinge plate - very important to keep the door solid.
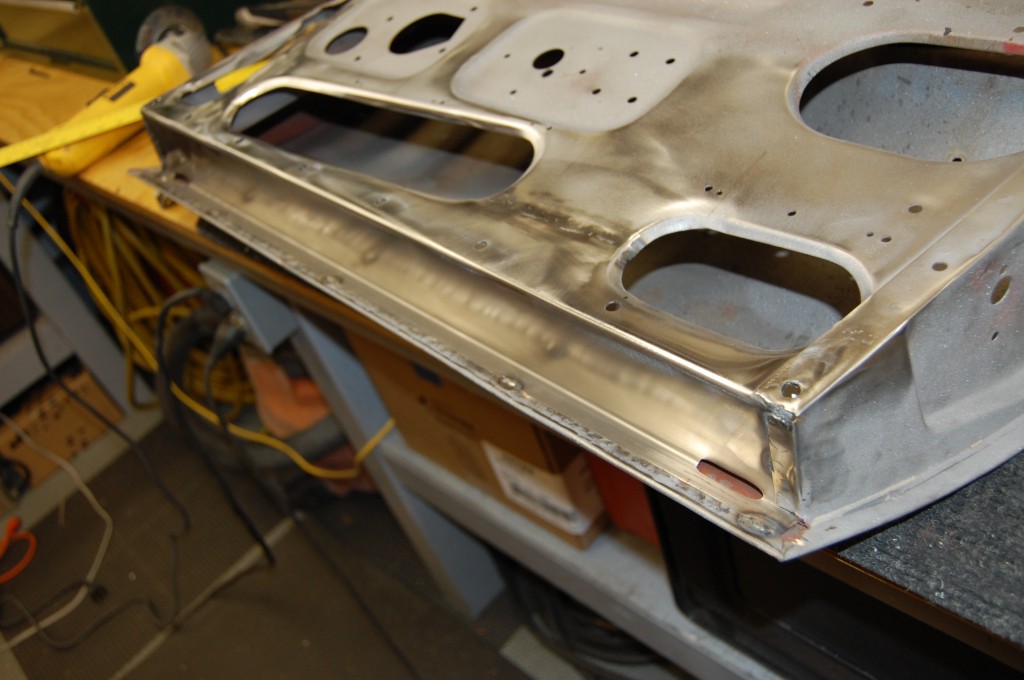
Almost there! Everything is complete now except for adding in two of the little drip-channels that are pop-riveted over the drain holes, and drilling and attaching the two studs for the interior window channel. Note that the lower corner of the shut face panel - which is painted the car color and seen every time you open the door - is still perfect.
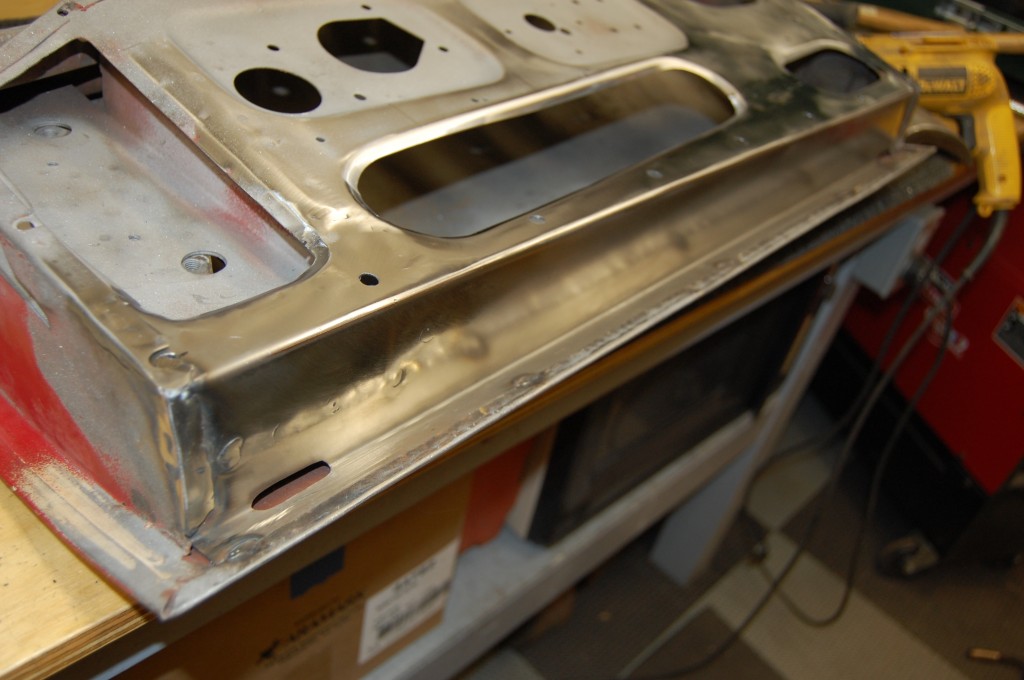
A shot from the other side - this was a long day in the shop, but with results like this, it's worth it! Needless to say, I was very pleased with how this one turned out. If YOUR CAR has serious rust issues in the door bottoms, give us a ring and we'll talk about how we can help! - bare door shells only weigh 13 pounds and they are easy to pack and ship!

